home / help
Image Settings
When you move your cursor in the File menu to Image Settings a submenu will show with 3 selections. Though you will have 4 options for Image conversion, there are only 3 options here. That is due to the fact that the "Remove Personal Data" feature has no configuration to it. If you click the selections that you plan to use, you then can set up the options as you want them.
- Reduce Photos: When this window opens, you will see what file types can be reduced and there is a listing of the sizes from which you can pick.

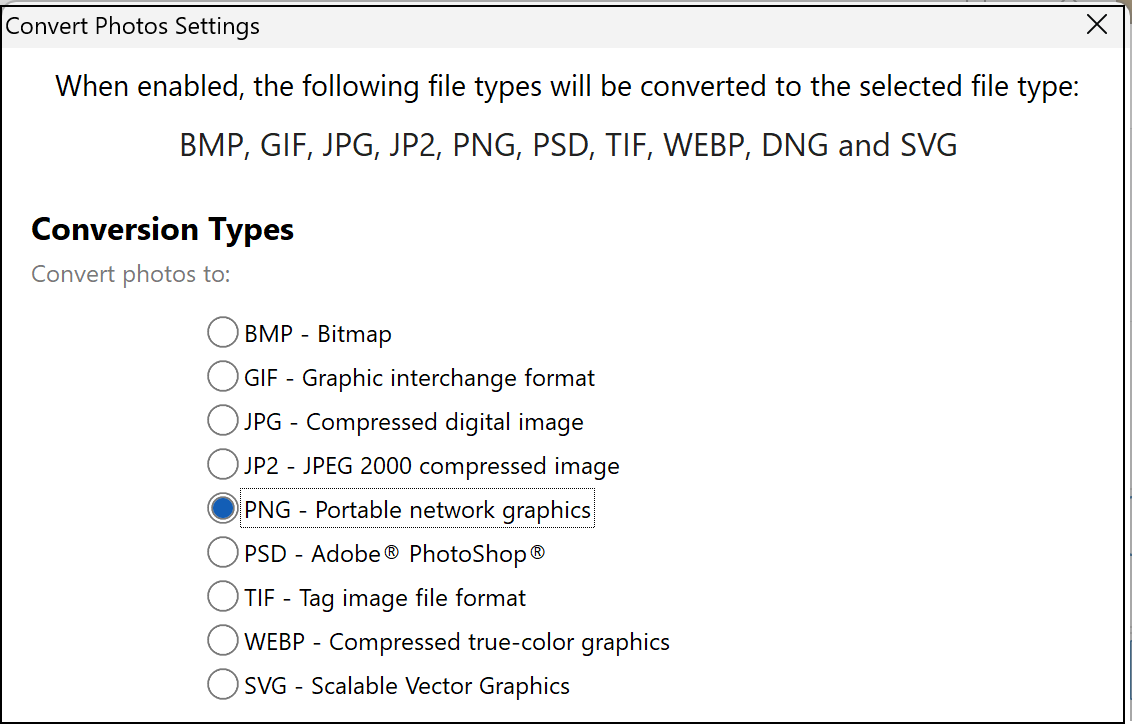
- Convert Photos: This also opens a window and it lists the image file types you can convert from (and to). So if you will be sending a few image file types to someone, and you want to be sure that person will be able to use all you sent, you might want WinZip to zip each image as a .jpg or .png file.
- Watermark Image: The window for this feature contains 3 columns and a listing of file types you can place a warermark on. The middle column is selected by default.
- If you want to use a picture as your watermark, click in the box at the top of the first column. Then click Open to find and select your picture. You then can select the background of the picture to have that color be transparent, use slider to make it more or less transparent and choose where on the picture the waternark will go.
- The box in the middle column controls a text watermark. You can use text alone or with an image. First, if you do not want your text to be Confidential, do not copy you should delete thta text and type what you want. You than can choose to include a date and/or time with the text. Click font if you want something other than Arial and you can change the font size. At this point you can choose the direction of the text and where it will be placed.
