| This article is being maintained as archived information. |
Here are two sets of steps you can take to create Zip files using WinZip for Mac.
Creating Zip files with the user interface
After opening WinZip, if you will be encypting the file(s) you zip, you may want to configure WinZip Preferences to insure that your preferred encryption strength is used. Then, when you are ready to zip your file(s):
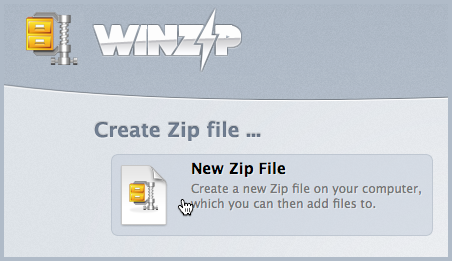
- If WinZip is configured to show the welcome screen, click New Zip File
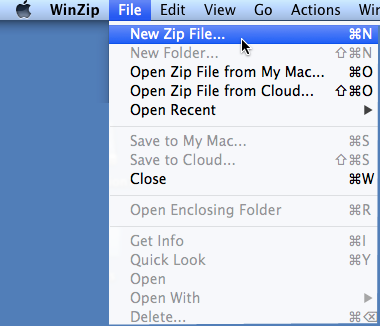
- If the welcome screen does not display, click the File menu and choose New Zip file
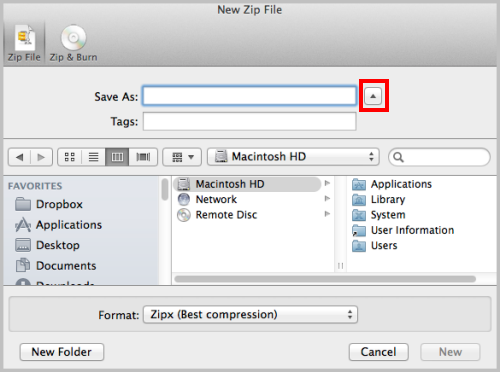
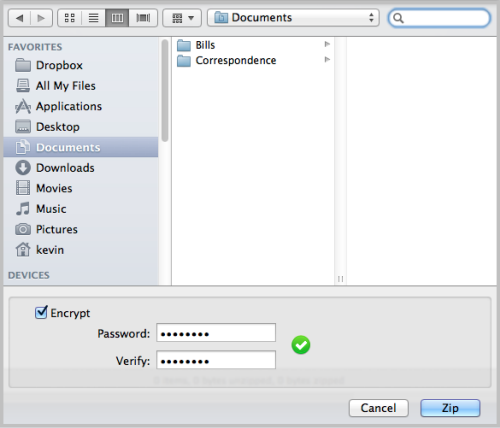
- In either case the New Zip File dialog will open to the Zip File pane. In it, you must type a name for your file in the Save As text box, you can choose a target location for your Zip file, and you can change the file Format if you wish. If you want to see a more detailed view of Finder locations (as pictured), click the arrow button to the right of Save As (outlined in red in the picture).
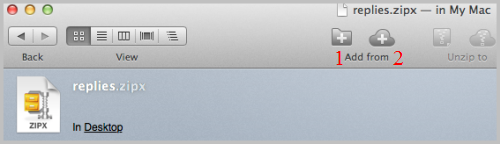
- After clicking the New button, your empty Zip file will open and you can click one of the Add from buttons as pictured below; number 1 in the picture is used to add files in any Finder folders and number 2 in the picture is used to add files saved in a cloud service
- A Finder drop down window will open from which you can choose folders, files, or both; choose to encrypt the data if you wish; and enter an encryption password if you chose to encrypt
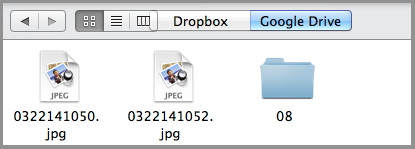
Note: If you click the button to add from a cloud service, a very similar drop down window will open with the available cloud services listed (Dropbox and Google Drive). If you have not logged in to a cloud service, you will be able to do so from the window that displays.
- After you click Zip the display for your Zip file will update, showing the files and folders you have added
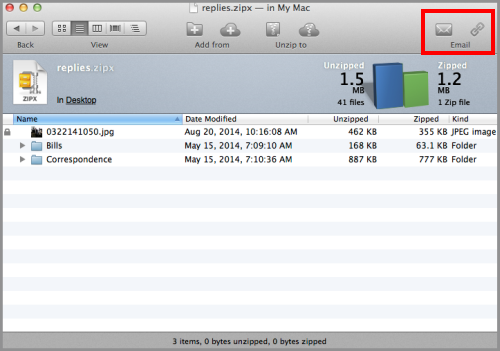
After you create your Zip file, you may click one of the Email buttons to send it using the Mail app. The button on the left, which looks like an envelope, will attach the new Zip file directly to a Mail message. If you click the button on the right, your Zip file will be uploaded to a cloud service and a link allowing the receiver to download the Zip file will be inserted into a Mail message.
Creating Zip files from the context menu
With WinZip Mac 2.0 or later, you can right click (or press the CTRL button and click) files and folders to create a Zip file. When you right click a file, the context menu will display and you will find two WinZip features at the bottom of the menu. Those features are Email as Zip File and Add to Zip File.

If you click Add to Zip File, a dialog having the same name will open.
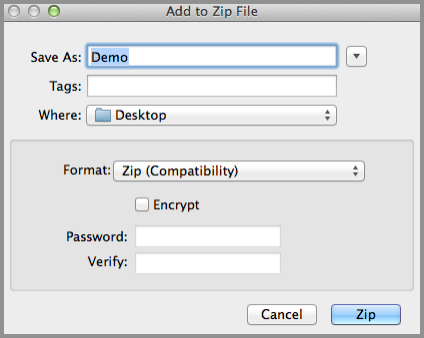
A suggested file name will display that you can change if you wish. You can also choose where the Zip file will be saved, change the file format, and/or choose to encrypt the file(s) being added if you want. Just click the Zip button to finish creating your Zip file.
Was this article helpful?
Tell us how we can improve it.